 EN
EN


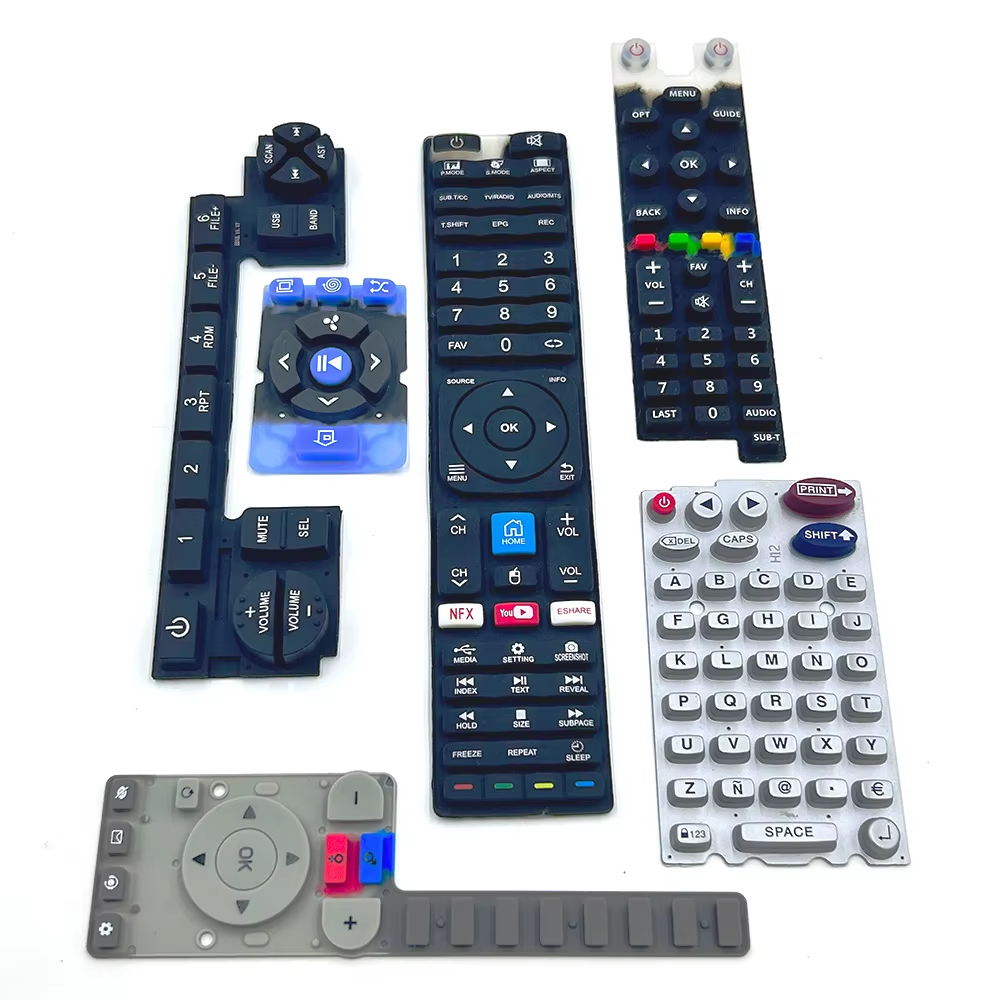
Understanding Mechanical Keyboard Button Structure and Function
How Mechanical Switches Work and Register Keystrokes
Mechanical keyboard keys work because each one has its own little switch inside that actually makes contact between metal parts when someone types. Press down on any keycap and what happens? The stem inside gets squished against a spring while pushing those tiny metal leaves together at their crosspoint. That completes the circuit, sending signals across the printed circuit board all the way to whatever controller chip is handling things behind the scenes. Mechanical switches translate our finger movements into computer commands pretty reliably too. Compared to those flat membrane boards we've all used before, these mechanical setups offer much better precision since they need around 2 to 4 millimeters of travel before registering a keystroke. Plus, most good quality mechanical keyboards keep working just fine even after being typed on millions of times.
Key Components of Mechanical Switches: Stem, Spring, Housing, and Contacts
Every mechanical switch comprises four critical parts:
| Component | Role in Key Function | Material Impact |
|---|---|---|
| Stem | Determines switch type (linear/tactile/clicky) and guides keycap movement | Plastic polymers affect smoothness and wobble reduction |
| Spring | Controls actuation force (45–80 cN) and return speed | Stainless steel ensures longevity and corrosion resistance |
| Housing | Encases internal components and stabilizes stem alignment | Nylon blends reduce vibration; tighter tolerances minimize dust ingress |
| Contacts | Completes circuit to register keystrokes | Gold-plated leaves resist oxidation for reliable conductivity |
These components work in unison to balance durability, tactile feedback, and electrical reliability–key factors differentiating mechanical keyboard buttons from cheaper alternatives.
Common Mechanical Switch Types: Linear, Tactile, and Clicky
Mechanical switches fall into three categories based on their actuation profile and sound:
- Linear Switches: Smooth keystrokes with no tactile bump (e.g., Cherry MX Red). Ideal for gaming due to rapid, consistent presses.
- Tactile Switches: Audible “bump” mid-press (e.g., Cherry MX Brown). Preferred for typing accuracy in office environments.
- Clicky Switches: Pronounced tactile feedback and audible click (e.g., Cherry MX Blue). Favored by users prioritizing audible confirmation but less suited for shared workspaces.
A 2023 Keyboard Community Survey found 62% of users customize switches for specific needs, underscoring the importance of understanding these core types. While linear switches dominate gaming (58% adoption), tactile variants remain popular in hybrid-use scenarios (34% market share).
Hot-Swappable vs Soldered Mechanical Keyboard Button Designs
Differences Between Hot-Swappable and Soldered PCBs
The hot swap PCBs have those spring loaded sockets that hold the switches in place without any permanent bonding, so folks can just pop them in and out without needing tools. On the flip side, soldered boards actually melt the switches onto the circuit board using tin lead alloys, which means if something goes wrong, you pretty much have to destroy the board to get it fixed. Most keyboard enthusiasts go for hot swap setups these days. According to last year's Keyboard Builders Survey, around 74% of DIY builders opted for this approach in 2023. Meanwhile, the old school soldered versions still hang on as the norm for those mass produced office keyboards we see everywhere.
Tools Required for Switch Replacement in Each Design
- Hot-swappable: Plastic switch puller ($5–$15) avoids metal-on-plastic scratches
-
Soldered: Desoldering pump ($20–$50), 30–60W soldering iron, and flux pen for joint cleanup
Non-conductive tweezers ($8) prevent accidental shorts during both processes.
Pros and Cons of Hot-Swappable Mechanical Keyboard Button Systems
Pros
- Immediate switch testing without soldering expertise
- 92% faster customization vs. soldered systems (Keyboard Science Lab 2022)
Cons
- Socket lifespans average 50–100 swaps before loosening
- PCB thickness increased 0.6mm vs. soldered designs
Balancing Customization Demand and Long-Term Durability in Hot-Swap Technology
Hot-swap popularity surged 310% since 2020, but the Mechanical Keyboard Reliability Report (2023) found soldered boards last 37% longer under heavy usage. Manufacturers now reinforce sockets with gold plating and steel leafs to support 150+ swaps while maintaining <5ms latency.
Step-by-Step Guide to Replacing Mechanical Keyboard Buttons
Removing Keycaps Safely Before Switch Replacement
Begin by unplugging your keyboard and using a wire-style keycap puller to gently lift each mechanical keyboard button. Apply even upward pressure to avoid damaging the stem sockets. Organize keycaps sequentially on a clean surface or use a keycap tray ($12–$25 on specialty sites) to simplify reassembly.
Using a Switch Puller to Remove and Install Switches on Hot-Swappable Boards
Working on hot-swappable systems requires careful handling. Take a plastic or metal switch puller and position its prongs around the base of whatever switch needs removal. Gently rock this tool back and forth in a horizontal motion to free those PCB connectors while making sure not to bend any delicate pins during the process. Installing new switches is just as important. Before pressing them into place, double check that those shiny gold-plated contact points are properly aligned. Push down firmly until there's that satisfying click sound indicating it's seated correctly. Getting this right prevents all sorts of headaches later on when components don't work as expected.
Desoldering Old Switches: Essential Tools and Techniques
Fixed-PCB keyboards require a temperature-controlled soldering iron (ideal range: 350–370°C) and desoldering pump. Heat each solder joint for 3–5 seconds before suctioning molten solder. A 2024 DIY hardware study found 89% of successful repairs used lead-free solder with flux cores to prevent cold joints.
Installing and Soldering New Switches with Precision and Safety
Insert replacement switches into vacant plate cutouts, ensuring housings sit flush. Apply fresh solder to each pin for 1.5–2 seconds–overheating can lift PCB traces. Test connections immediately with a multimeter; resistance readings above 0.5Ω indicate faulty bonds.
Avoiding Common Issues Like Bent Pins During Replacement
Inspect replacement switches under bright light before installation. Misaligned pins cause 40% of post-repair failures–carefully straighten bends with needle-nose pliers. For hot-swap boards, confirm socket integrity by wiggling switches laterally; excessive movement signals worn connectors needing PCB replacement.
Testing and Troubleshooting Mechanical Keyboard Button Performance
Verifying Keyboard Functionality Using Online Testing Tools
After replacing mechanical keyboard buttons, use online tools like Keyboard Tester or AquaKeyTest to confirm switch responsiveness. These platforms display real-time input registration, helping identify switches with inconsistent actuation points. For tactile switches, verify distinct bump feedback aligns with manufacturer specifications (60–65 cN force for Cherry MX Browns).
Diagnosing and Fixing Unresponsive or Double-Pressing Buttons
When keys start acting sluggish, it's usually because there's gunk stuck inside the switch housing or those little metal contacts have gotten bent out of shape. A recent look at keyboard repairs showed around 23 percent of folks who modified their boards for the first time ran into this exact problem. If switches keep registering multiple presses when they shouldn't, grab a magnifying glass and check those leaf contacts for signs of oxidation buildup. The fix? Grab some rubbing alcohol to wipe down those contacts, then carefully straighten any bent pins with a pair of needle nose pliers before popping the switch back into place.
Final Checks for Stability and Typing Experience
Make sure all those keycaps line up evenly across the keyboard surface. Also worth checking are the stabilizers on bigger keys like the spacebar and shift keys to ensure they don't rattle around when pressed. Give the whole thing a good test run from various typing positions. If some switches feel off or inconsistent during testing, take a look at how the springs are seated within their housings. For folks dealing with modified switches that respond slowly or lag, there's detailed info in our "Installing and Soldering New Switches" guide about what constitutes proper solder joints and connections. Most problems with response times usually trace back to poor solder work anyway.
Ensuring Compatibility When Replacing Mechanical Keyboard Buttons
Matching Switch Types and Keyboard Layouts Across Brands
Keyboard layouts and switch standards vary significantly between manufacturers, requiring careful compatibility checks. While 86% of mechanical keyboard repairs fail due to mismatched components (Keyboard Community Report 2024), users can avoid issues by verifying two critical factors:
- Switch Pin Configuration: PCBs may support 3-pin (basic) or 5-pin (stabilized) switches. Always cross-reference your board’s specifications before purchasing replacements.
- Keycap Sizing: Non-standard bottom-row keys (e.g., 6.25u vs. 7u spacebars) or sculpted profiles differ across brands like Glorious and Keychron.
For optical or Hall-effect switch designs, confirm PCB sensor alignment to prevent input latency or ghosting.
MX-Style vs Proprietary Switch Designs: What Fits Your Board?
MX-style switches remain the industry standard, compatible with 72% of aftermarket mechanical keyboard button systems. These feature cross-shaped stems that align with most keycap sets and hot-swappable sockets. Proprietary designs like Razer’s Green switches or Logitech’s Romer-G variants use unique housings and stems, limiting third-party customization.
| MX-Style | Proprietary | |
|---|---|---|
| Compatibility | Broad | Brand-locked |
| Mod Potential | High | Low |
Aim for MX-style clones from Gateron or Kailh for budget-friendly upgrades, ensuring PCB pin holes match the switch’s plastic legs. For 5-pin switches on 3-pin boards, clip the extra legs with flush cutters instead of forcing installation.
Frequently Asked Questions
What makes mechanical switches better than membrane keyboards?
Mechanical switches offer greater precision and durability, requiring 2 to 4 millimeters of travel to register keystrokes, which improves typing accuracy.
Are hot-swappable keyboards better than soldered ones?
Hot-swappable keyboards allow for easy customization and immediate switch testing without soldering expertise, but soldered boards may last longer under heavy usage.
How can I troubleshoot unresponsive or double-pressing buttons on my mechanical keyboard?
Check for gunk inside the switch housing or bent metal contacts and clean or straighten them. This usually resolves issues with key responsiveness.
What should I consider when replacing mechanical keyboard buttons?
Ensure compatibility by checking switch pin configuration and keycap sizing to prevent mismatched components.
Table of Contents
- Understanding Mechanical Keyboard Button Structure and Function
- Hot-Swappable vs Soldered Mechanical Keyboard Button Designs
-
Step-by-Step Guide to Replacing Mechanical Keyboard Buttons
- Removing Keycaps Safely Before Switch Replacement
- Using a Switch Puller to Remove and Install Switches on Hot-Swappable Boards
- Desoldering Old Switches: Essential Tools and Techniques
- Installing and Soldering New Switches with Precision and Safety
- Avoiding Common Issues Like Bent Pins During Replacement
- Testing and Troubleshooting Mechanical Keyboard Button Performance
- Ensuring Compatibility When Replacing Mechanical Keyboard Buttons
- Frequently Asked Questions